How to Hike Blue Lakes Trail – Ridgway, CO
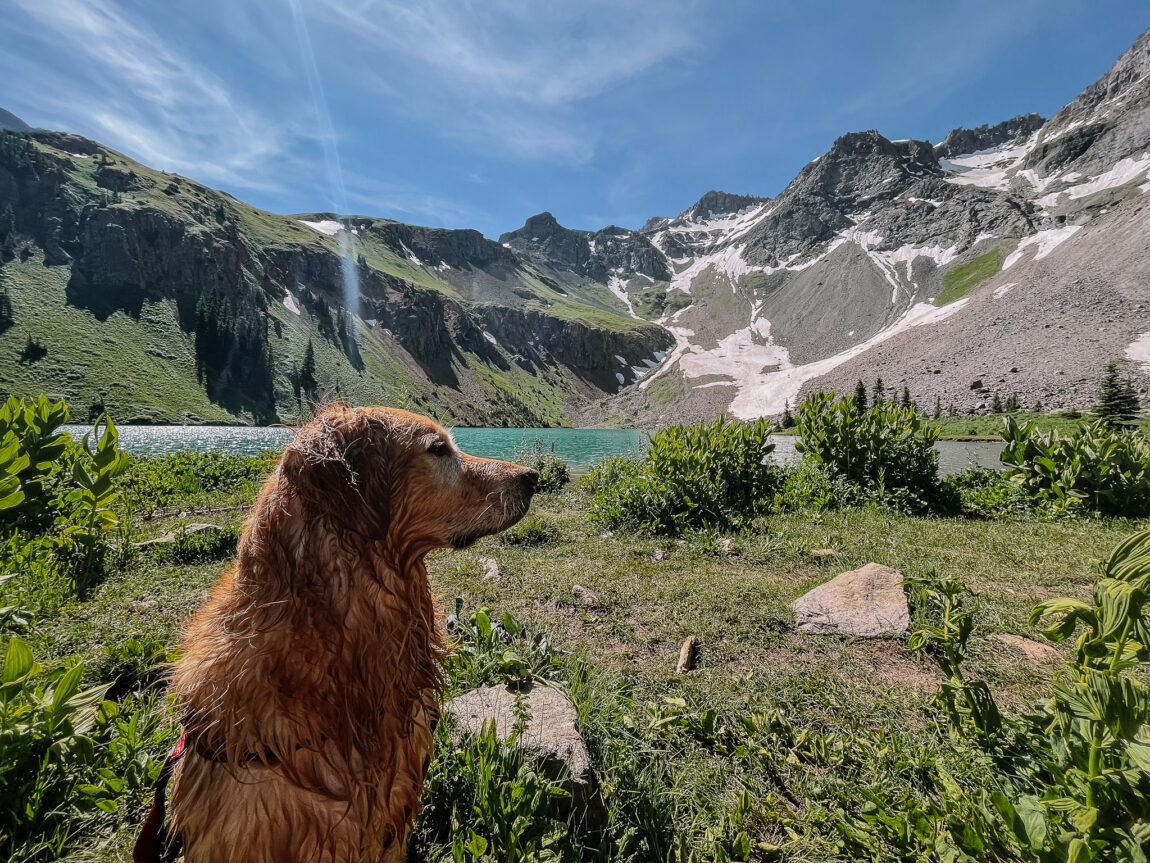
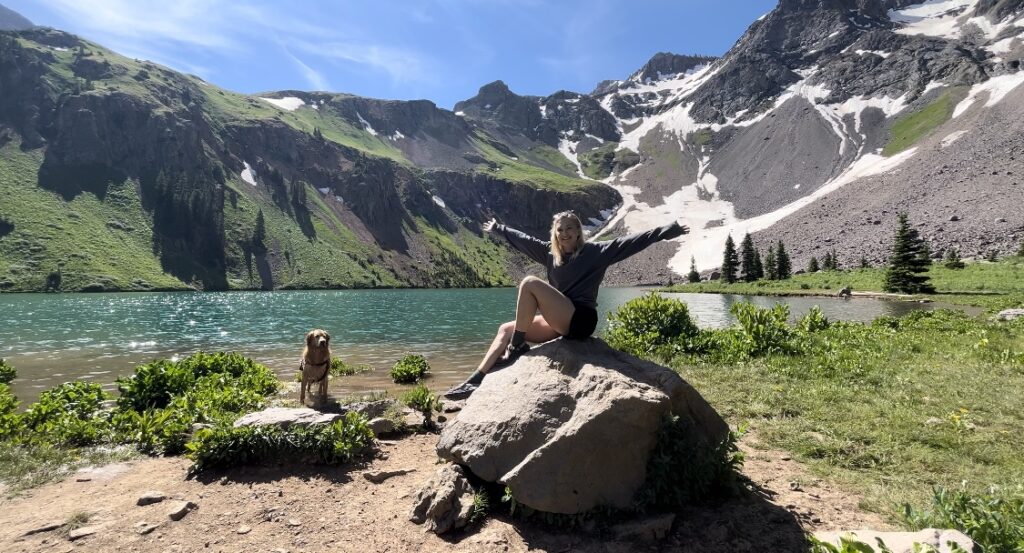
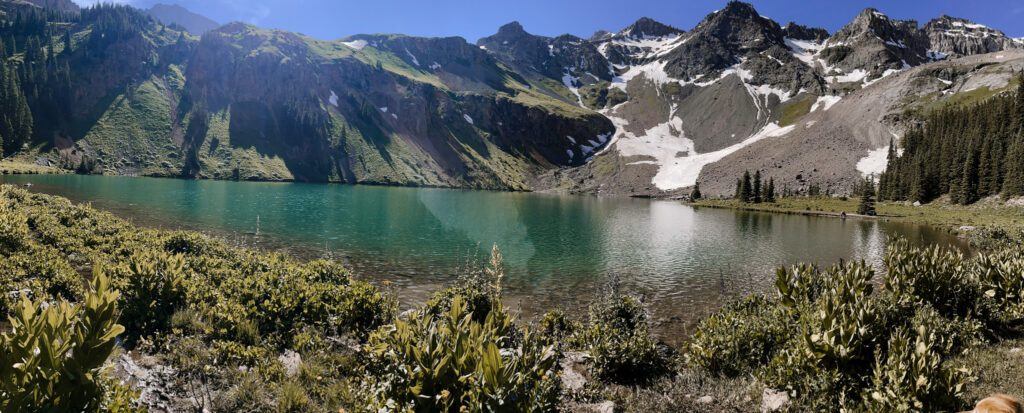
Blue Lakes Trail is stunning and was my favorite part our week in Ouray, Colorado. It was physically challenging, but so worth it. This was a hike I’d had on my bucketlist for so long and finally getting to make it a reality felt amazing. The Lower Blue Lake is so beautifully blue, it reminded us of Gatorade! The constant views of snow capped peaks were such a treat too.
You can do this as a day hike from Ouray, Ridgeway, Telluride or other nearby areas in Southeast Colorado. The trail is part of the San Juan Mountains. This guide will give you all the info to hike this yourself and have a great time. If you’ve done this hike too, we’d love to hear about your experience in the comments at the end of the guide!
Table of Contents
Toggleblue lakes Trail Stats
- Distance: 7 – 11 miles (10 – 18 km) round trip. The Blue Lakes Trail is an out-and-back trail with varying distances depending on how far you choose to hike. The most popular destination is Lower Blue Lake, which is approximately 3.3 miles from the trailhead (6.6 miles roundtrip). Middle Blue Lake is approximately .7 miles up from Lower Blue Lake & Upper Blue Lake is another .3 miles from there. You can also continue on to Blue Lakes Pass, which is 1.5 miles from Upper Blue Lake.
- Difficulty: The trail is considered moderately difficult to strenuous. It involves a good deal elevation gain and can be rocky and steep in sections. Depending on the time of year and amount of snow run off, there will be multiple stream and water crossings.
- Duration: 3 – 8 hours round trip
- Elevation: 9,350 – 13,000 feet (2,850 – 3,950 m)
- Elevation Gain: 1,600 – 3,650 feet (500 – 1,100 m)
- Trailhead Amenities: Parking area, trailhead toilet
- Dog Friendly: YES! This hike is DEFINITELY Ollie approved – he loved getting to swim in the lakes!
- Fees: none

blue lakes Trail Location
The Blue Lakes Trail is located in the San Juan Mountains. This trail is about 45-50 min from Ouray or Telluride, and 20-30 min from Ridgway, CO. The trailhead is typically accessed from County Road 7, which is also known as the Camp Bird Road. The last bit of the drive is tricky – check road and trail conditions before heading out to the trail! The road is typically car accessible if driven slowly. CR-7 is a dirt/gravel road that becomes very rough with lots of potholes and rocks to dodge. Even in our large truck, we took the last 7 miles or so very slowly. The drive is scenic and peaceful with views of Mt Sneffels (a 14,000 ft peak).
Best Time To Hike Blue lakes trail
We went in late July and it was BEAUTIFUL. The snow run off made the streams super full and the wildflowers were in full bloom. I do recommend starting early in the day as the parking lot fills up quick (before 7am if possible).
Summer (June to August): This is the most popular time to hike the Blue Lakes Trail. During the summer months, the trail is usually snow-free, and the wildflowers are in full bloom, creating a stunning and colorful landscape. The weather is generally pleasant, with daytime temperatures ranging from the 60s to 70s Fahrenheit (15-25°C). However, it can get crowded during weekends and holidays.
Early Fall (September to early October): This is a fantastic time to hike if you want to avoid the crowds and still enjoy relatively mild weather. The fall foliage in the surrounding aspen groves is breathtaking during this time. Daytime temperatures typically range from the 50s to 70s Fahrenheit (10-25°C), but be prepared for cooler evenings and the possibility of early-season snowfall.
Late Spring (May to early June): While this time can offer beautiful views with lingering snow on the surrounding peaks, it’s also when the trail is likely to be covered in snow or muddy due to melting snow. If you plan to hike in late spring, be sure to check trail conditions and bring appropriate gear like waterproof boots and trekking poles.
Winter (November to April): Hiking Blue Lakes Trail in the winter is not recommended for most hikers. The trail is typically covered in deep snow, and avalanche danger can be a concern. This time is better suited for experienced winter hikers and backcountry enthusiasts.
Trailhead to Lower Blue Lake
The trailhead for this hike is clearly marked and easy to spot from the parking lot.
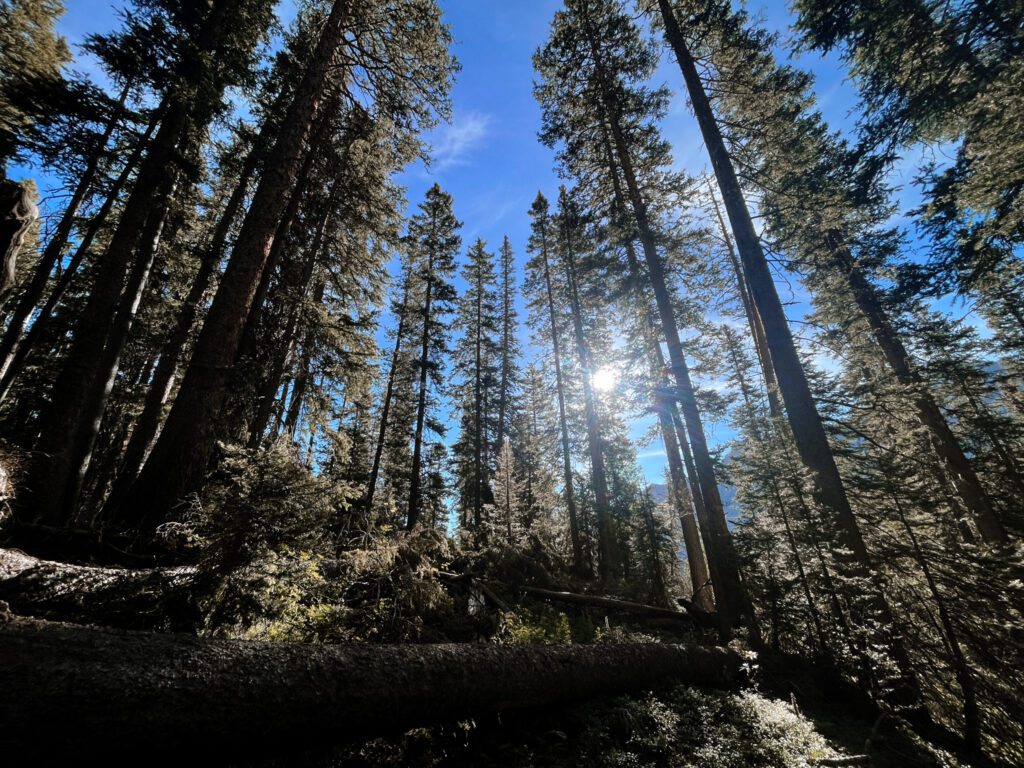
The first 1-2 miles of the trail are a pretty steady climb through thick tree cover. I’m not going to lie, even from the start, this trail had us breathing pretty heavy! The mix of not being super acclimated to the altitude (we live in TX) and the steady incline is tough. The hike is very easy to follow and well maintained. There were a few downed trees to hop over, but nothing unmanageable. After the first mile or so, we came to a valley where the tree cover opened up and we had GORGEOUS views of the peaks. We were just in awe of the beauty with the mountain views and wildflowers all over.
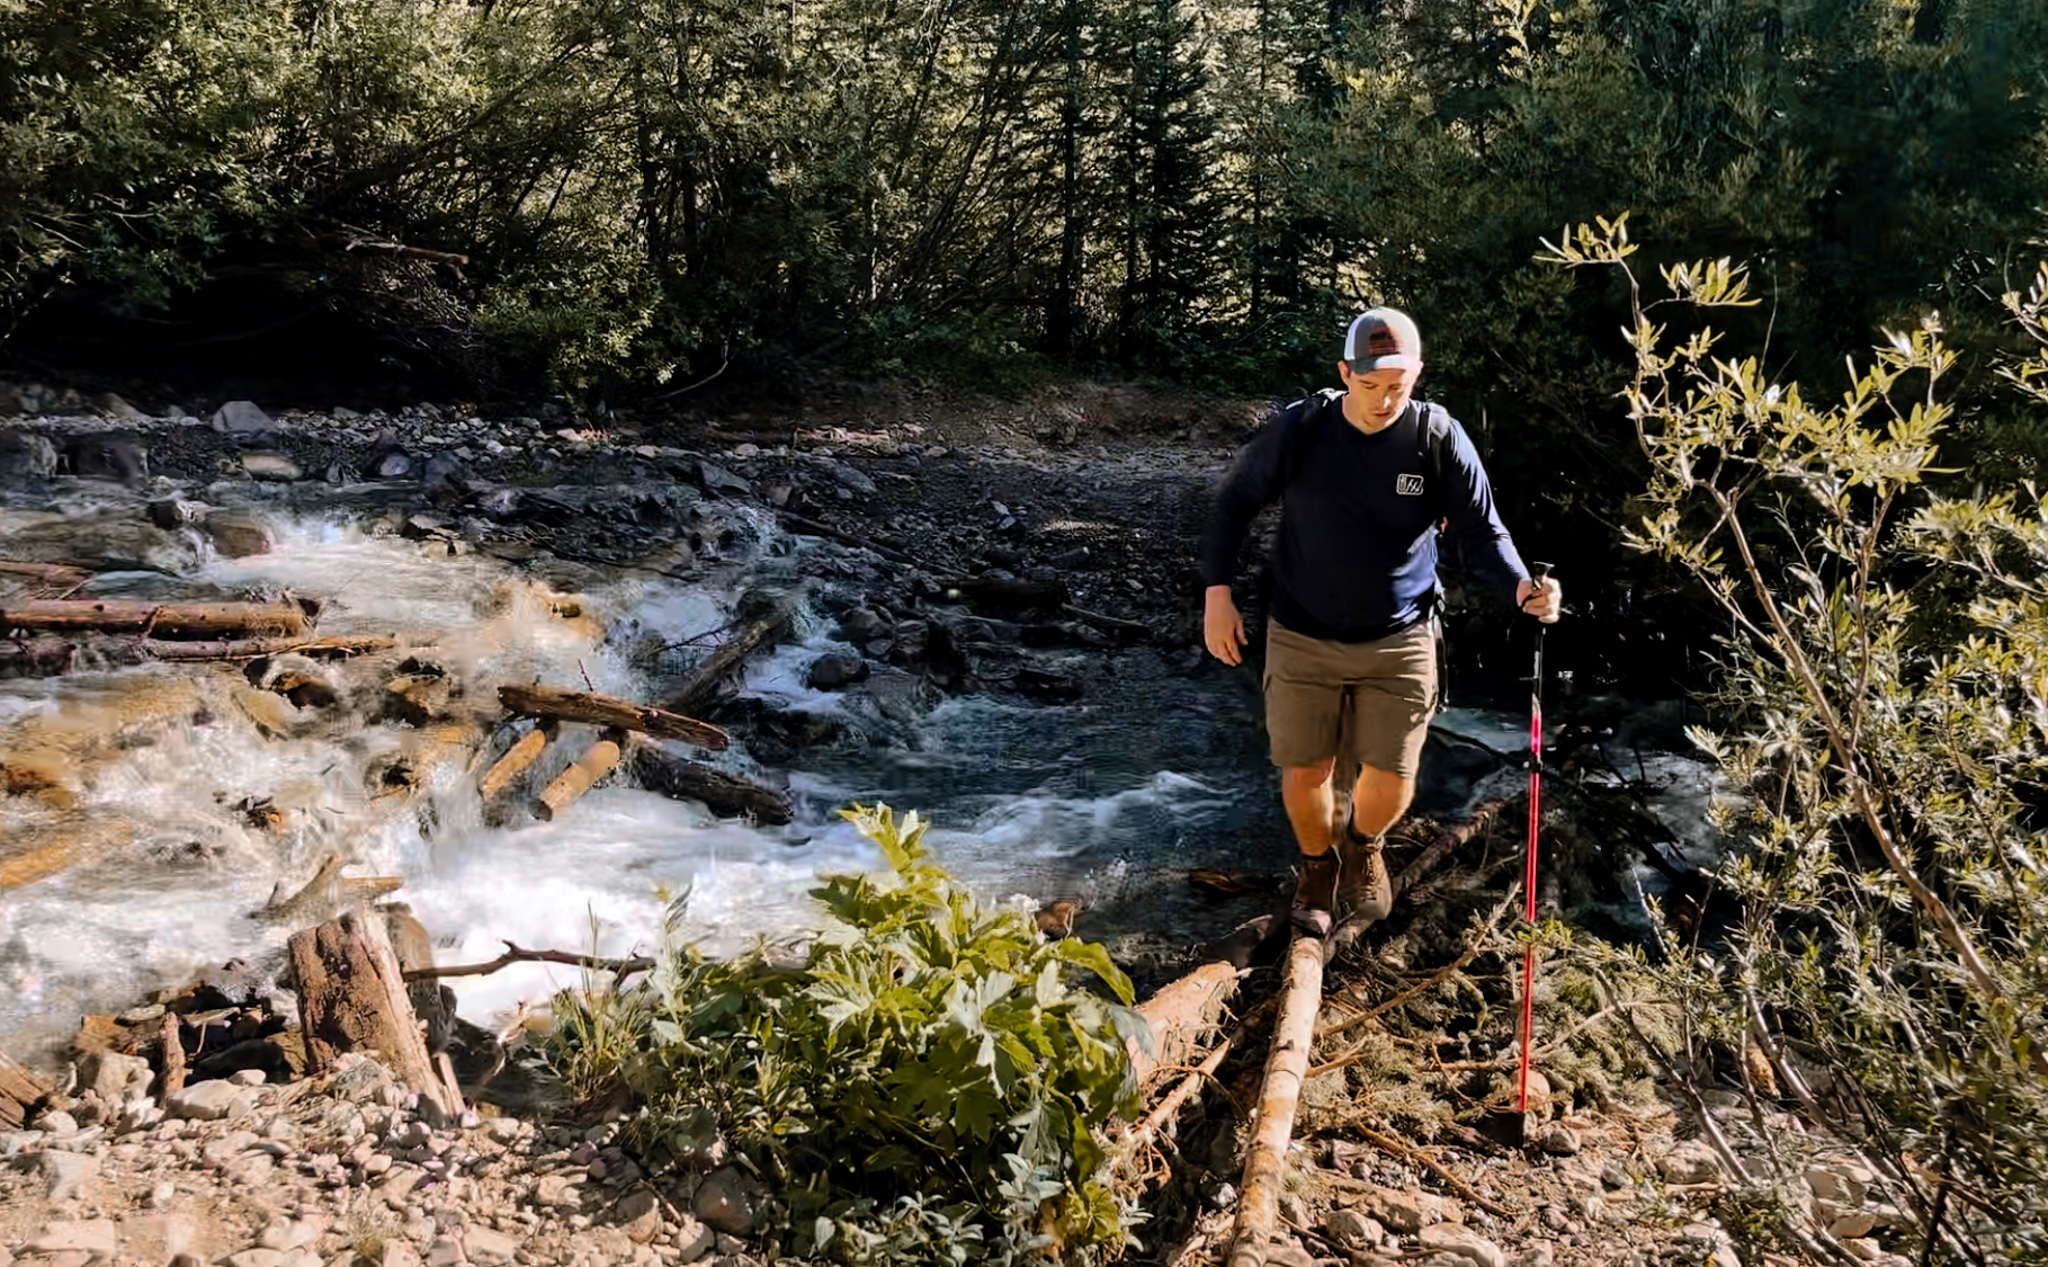
From the beginning of the hike, we were treated to sounds of rushing water. So we weren’t surprised when we came to our first stream crossing. We were definitely grateful for our hiking poles because we easily walked across a log, using the poles for balance. Ollie loved stopping here to swim before continuing on to the Lower Blue Lake ahead.
Lower Blue Lake
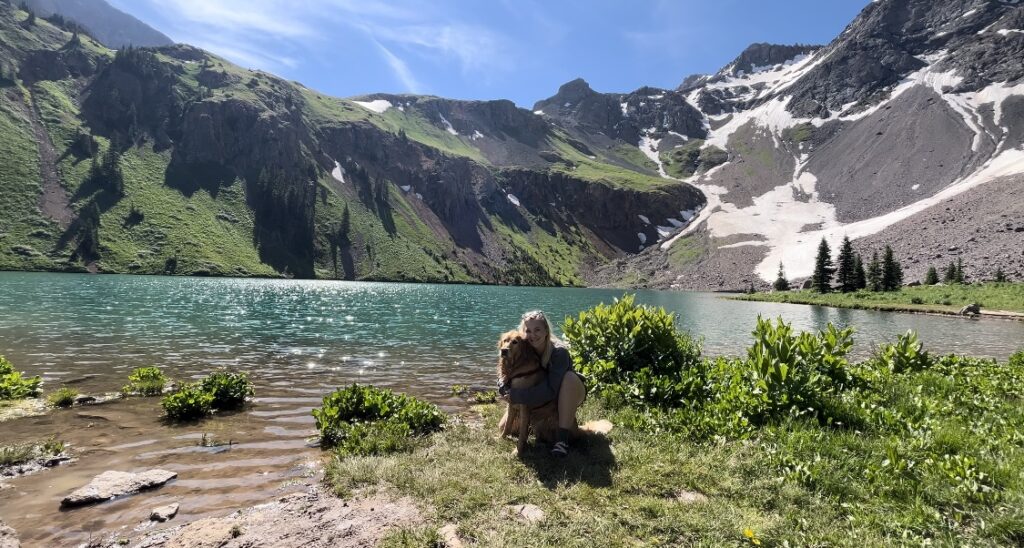
After 3.3 miles, we came to Lower Blue Lake and wow, the beauty is unreal! I had this trail on my bucket list for awhile, and it was just such a feeling of joy finally seeing it in person. Since we started pretty early in the morning, we had the lake almost to ourselves. Kyrk laid down to nap in the sun, Ollie of course wouldn’t stop swimming, and I took an entire camera roll worth of photos.  I did even dip my toes in to test the water, but it’s so cold I couldn’t bring myself to get all the way in. We did see a few people doing “cold plunges” if you’re brave enough to try it! Ollie even got so cold after swimming for awhile that he was shaking a bit. We wrapped him in Kyrk’s rain jacket and let him warm up in the sun for a few minutes. This is also a great place to refill water bottles if you have a filter (we used the Lifestraw Bottle & the Lifestraw). There’s a large grassy area to sit down and enjoy the views while having a snack or water break.
Lower Blue Lake to Middle Blue Lake
This is where the intensity picks up for sure! The trail from Lower to Middle Blue Lake is only .7 miles but gains 650 feet of elevation. We also had several water crossings along this part of the trail, the first being pretty fast moving water. I opted to throw my sandles on and wade across because I wasn’t comfortable trying to balance on the slippery rocks with the water rushing so quickly. As I mentioned earlier though, this water is ICE COLD!! It was a shocking few minutes trying to cross and took my legs a minute to gain feeling after I got out of the water.
This part of the hike is tough, but worth it! You have gorgeous views over Lower Blue Lake as you climb up and lots of opportunites for good pictures here.
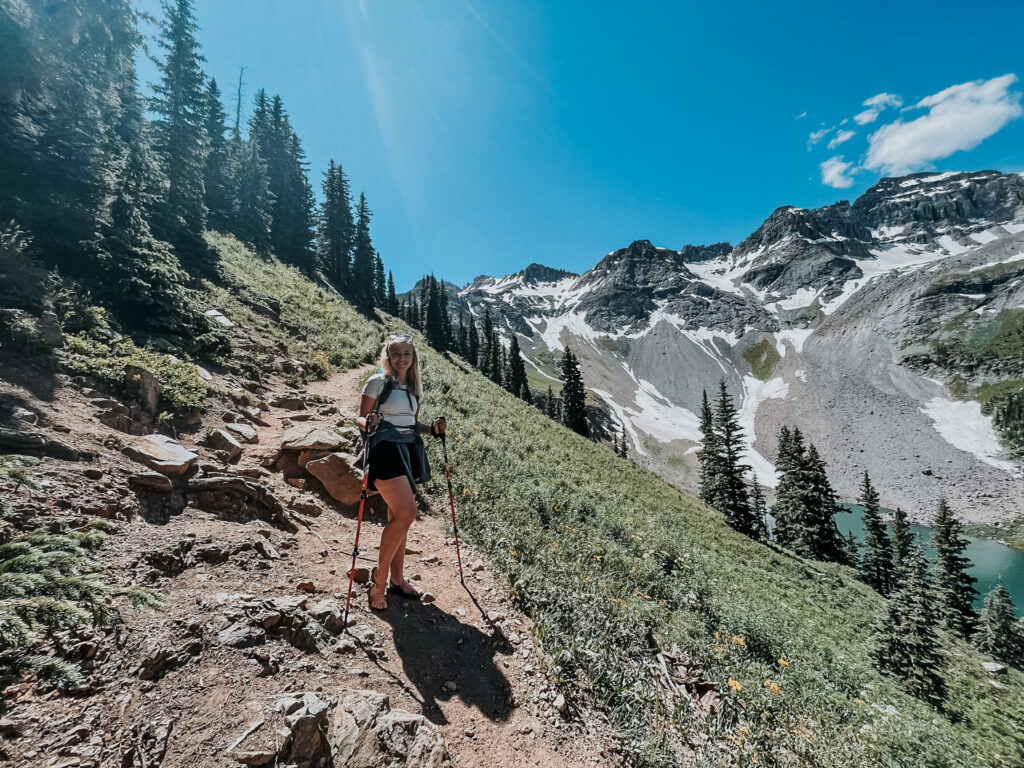
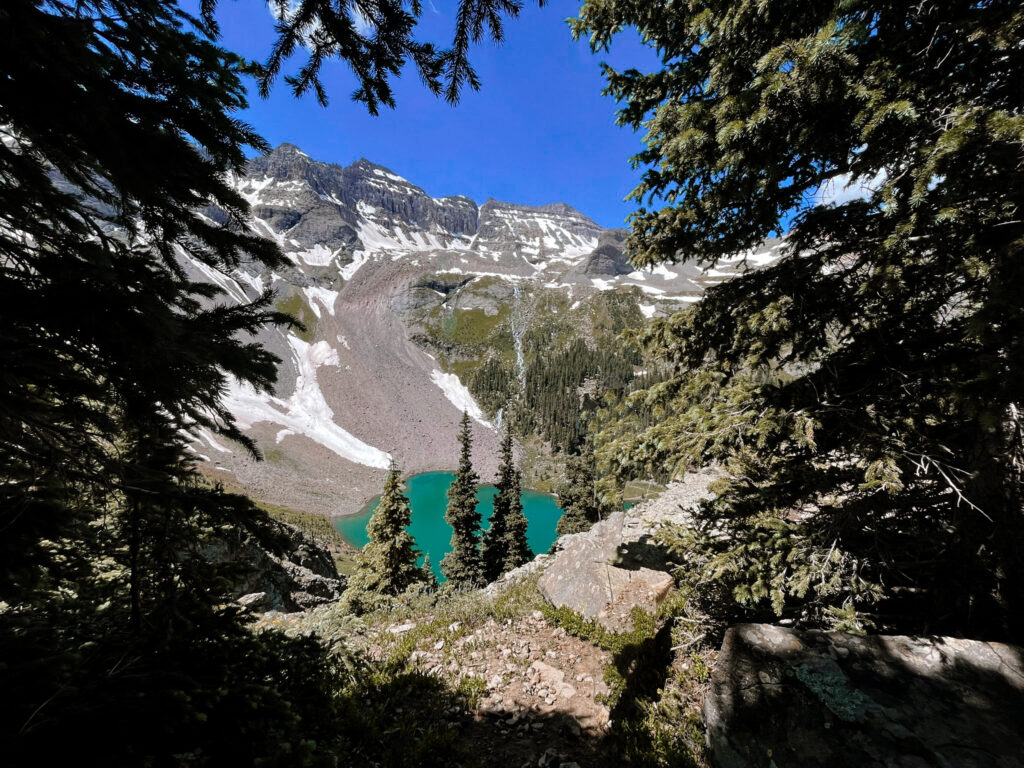
We did also encounter some snow on this part of the trail. We crossed it fairly easily just in our normal boots, but I would keep this in mind. If you’re here earlier in the season, there could be more snow cover, making it difficult to walk through.
Once you come to Middle Blue Lake, while it isn’t as scenic as the lower lake, it’s very peaceful. We sat in the meadow above the lake for awhile and relaxed in the sun while Ollie swam some more.

Upper Blue Lake & Blue Lakes Pass
We unfortunetly had to turn back after the middle lake and didn’t make it to upper lake. I was feeling really rough from altitude sickness and didn’t want to push it.
If you want to continue on, the trail from Middle to Upper Lake is .3 miles with an elevation gain of 150 feet. From what we could see, the trail is small and narrow. Even in late July there was a lot of snow on the trail, but we saw people traversing it with seemingly no issues.
The upper lake (from what I’ve read and seen in photos) isn’t as blue and colorful as the first two lakes. It’s more clear – like glass. This is also a great spot for some alone time as most people don’t hike up to this spot.
From Upper Blue Lake to Blue Lakes Pass is another 1.5 miles with 1250 feet of elevation gain. At the top you can look down at the entire Blue Lake Trail. You’ll also be able to see Yankee Boy Basin to the east. From here you can turn back to the trailhead or begin the summit to Mt Sneffels (14,156 ft). Climbing to Mt Sneffels would require some research and planning as this is a Class 3 climb.
Driving Directions
If you’re using Google Maps – type in Blue Lakes Trailhead. It will say it’s in Telluride (it’s technically Ridgeway), but this is the correct route to select.
To get from Ouray to Blue Lakes Trailhead:
- Head south on US-550 S toward Silverton.
- Continue on US-550 S for approximately 27 miles.
- Turn right onto County Rd 7 (Blue Lakes Road).
- Follow County Rd 7 for about 5 miles to reach the Blue Lakes Trailhead.
To get from Telluride to Blue Lakes Trailhead:
- Head west on CO-145 W.
- Continue on CO-145 W for approximately 12 miles.
- Turn left onto County Rd 7 (Blue Lakes Road).
- Follow County Rd 7 for about 5 miles to reach the Blue Lakes Trailhead.
Coordinates:
- Main Blue Lake Trailhead: 38.02200152751049, -107.81835071502937
Blue Lakes Trail Camping:
Camping: Camping is permitted in designated campsites near Lower Blue Lake and Upper Blue Lake. These campsites offer a relatively primitive experience with no facilities, so you’ll need to bring your own camping gear and prepare for rustic camping. Lower Blue Lake would be the easiest spot to camp as it doesn’t require lugging your gear as far, but it will be the busiest area. On the weekends and holidays this is a popular spot.
Rules:
- You must be 100 feet or more from the water source when setting up your camp area.
- No campfires allowed
Weather: The weather in the high-altitude Colorado mountains can be unpredictable, even during the summer months. Be prepared for changing weather conditions, including afternoon thunderstorms. Ensure you have appropriate clothing and gear to stay warm and dry.
Wildlife: Keep in mind that you are in bear country. Store food and trash in bear-resistant containers, and be cautious with your food to avoid attracting wildlife.
Water: There are water sources along the trail, so bring a way to filter or purify water if you plan to drink from natural sources.
Trail Length: The trail to Lower Blue Lake is approximately 6 miles roundtrip, while the trail to Upper Blue Lake is around 8 miles roundtrip. Plan your camping trip accordingly, and allow enough time to reach your chosen campsite.
