10 min, Everyday Makeup Routine
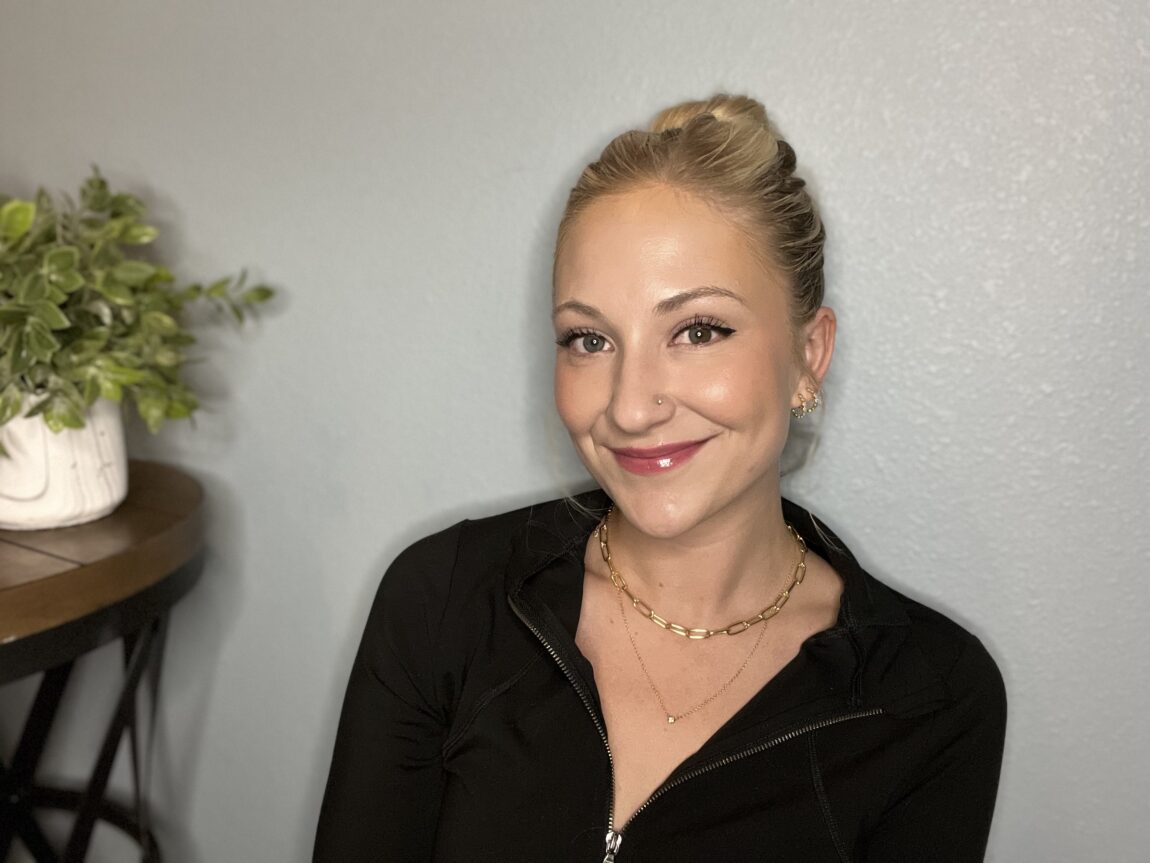
I, like a lot of people, enjoy feeling put together for work everyday, WITHOUT having to spend 30+ min getting ready. So, I have put together an easy, quick 10 min, everyday makeup routine and in this post, I’d love to share with you what I products I use & how I get ready on a time crunch.
Busy Bee Tip: Achieving your best makeup look definitely starts with a good skincare routine. Read my post all about my favorite skincare products & routine or watch my Youtube video here!
Busy Bee Tip: When buying makeup, I try to stick to Ulta or Sephora, rather than Walmart, Amazon, or Target. Ulta and Sephora both allow you to earn rewards, which you can redeem for money off your future orders. Most of the links in the post will be through Ulta or Sephora, for that reason.
Quick Routine Overview
I want to give a brief overview of my routine & what products I use, incase you don’t feel like reading in depth about each step. I will go into more details about why I do what I do & why I like certain products, so continue reading if you want more info or use the table of contents above to find a certain section!
- Step One: Primer – I use both the Elf Power Grip Primer (for longevity) & the NYX Marshmallow Primer (smoothing).
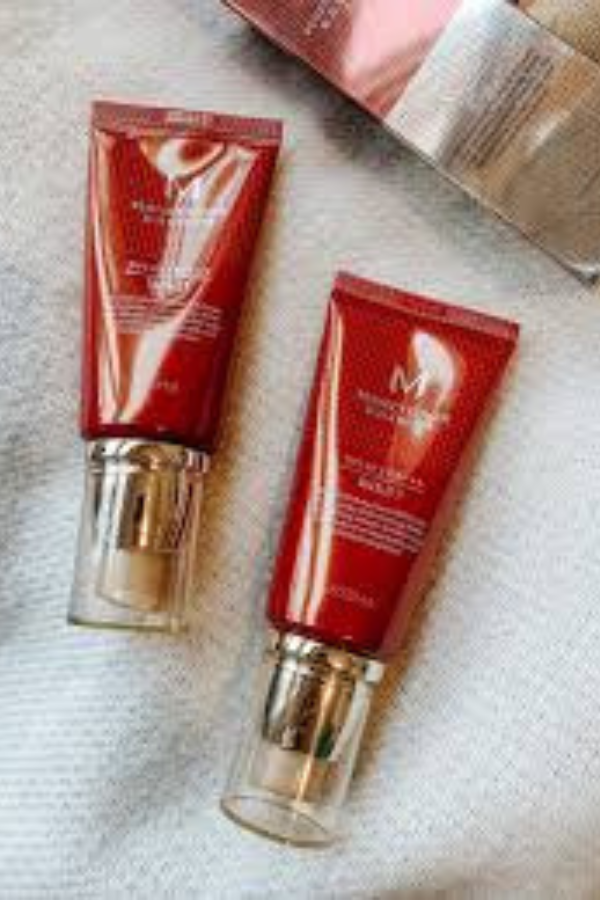
- Step Two: Foundation – I switch between the Missha Perfect Cover BB Cream (shade 21) or Loreal Radiant Serum Foundation (shade 10 Ivory).
- I usually apply things with my hands & smooth it out with a dry Beauty Sponge.
- Step Three: Concealer – I use the Bobby Brown Under Eye Corrector.
- Step Four: Eyeliner – Sephora 12 hr liner, in Tirramissu, is my fav.
- Step Five: Bronzer – I prefer cream bronzer, so I use the Tower 28 Sculptino bronzer (shade: “broad”).
- To apply this, I use the Elf Putty Brush.
- Step Six: Blush – I use either the Milani Cheek Kiss cream blush (shade: “Nude Kiss”) or the Nars Liquid Blush (shade: “Orgasm”).
- I apply cream & liquid blush with the Real Techniques 449 Brush.
- Step Seven: Powder – I use either the Elf Halo Glow loose powder or the Elf Camo Powder Foundation.
- I apply both with a triangular powder puff.
- Step Eight: Setting Spray – I SWEAR by the One Size On ‘Til Dawn Setting Spray.
- Step Nine: Mascara – I use the Thrive Cosmetics Mascara (the best mascara EVER).
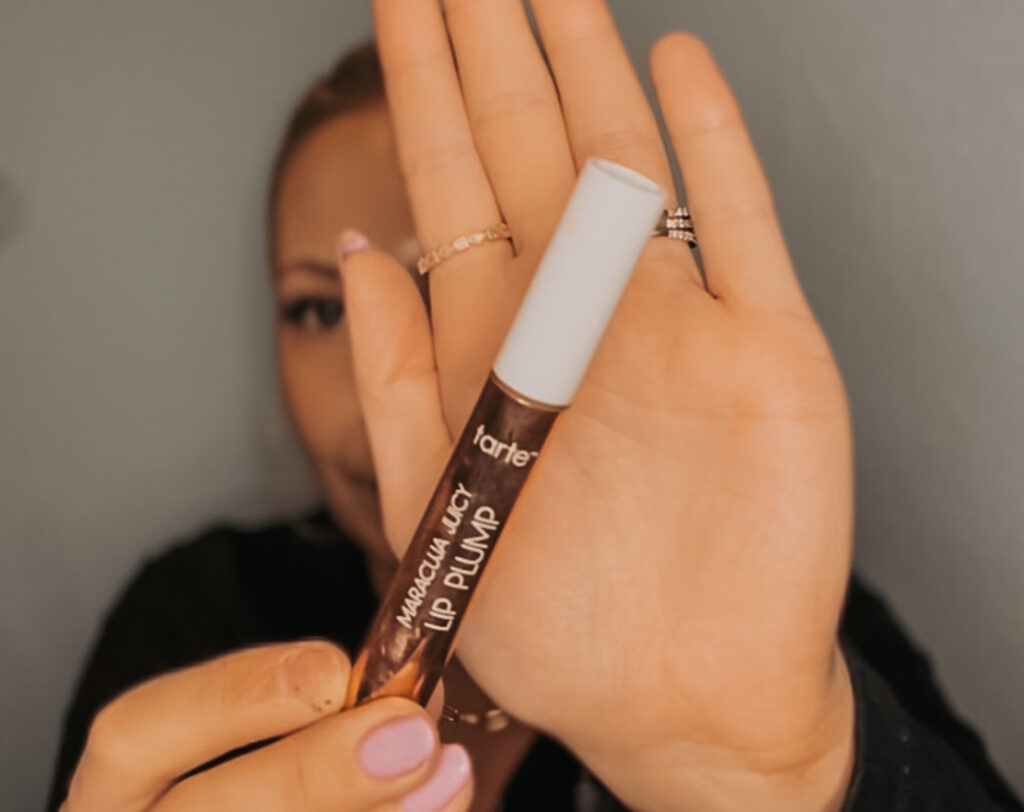
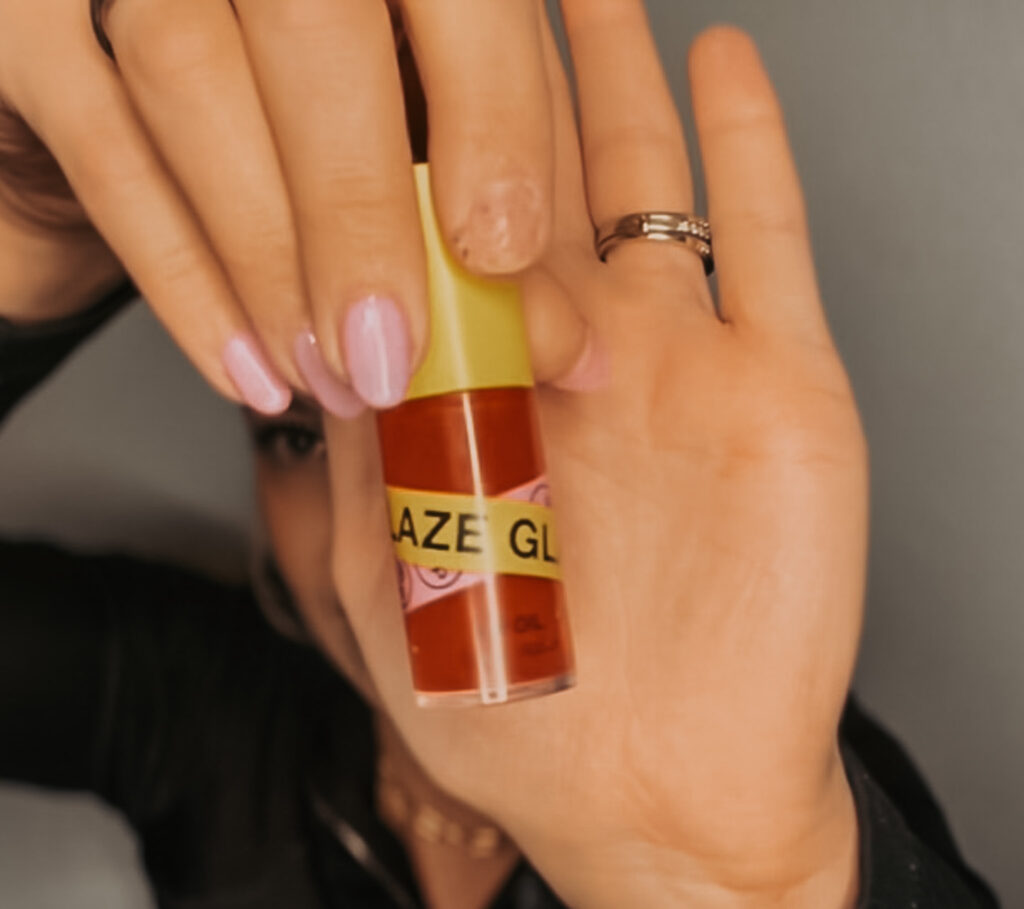
- Step Ten (Optional): Lip Gloss – My favorites are the NYX Fat Lip Oil, Tarte Maracuja Lip Plump, or Inn Beauty Project Lip Oil (shade: “Candy Apple”).
Primer
- Elf Power Grip Primer: I use this as my very first step. It’s a tacky, sticky consistency that helps keep your makeup gripped in place all day. I apply this all over my face, using my fingers.
- Busy Bee Tip: Let this dry to a sticky feeling for a few seconds before applying next steps. This ensures it’s ready to hold makeup in place!
- Busy Bee Tip: If you love the Milk Hydro Grip Primer, this is basically the same product for much cheaper!
- NYX Marshmallow Primer: I use this just in my t-zone to fill in my pores & under my eyes, to help my concealer look smoother. This primer is a really fluffy-like consistency & is great for achieving a smooth, air-brushed look to your skin. Plus, it smells nice!
Foundation
I really like to try different foundations. For some reason, foundations are my favorite makeup item to buy, so I frequently change up which one I use. During the week though, I stick to my two favorites & go between those depending on my skin that day.
- Missha Perfect Cover BB Cream: This is an extremely lightweight and easy to wear product. It gives light to medium coverage, feels great on the skin, and wears really well throughout the day. It also has a nice, cool undertone to help counteract redness or the typical orangey look to foundations.
- I apply this with my hands and then smooth it out and press it into my skin, using a beauty sponge.
- Loreal Radiant Serum Foundation: I use this on days when I need a tiny bit more coverage. I can get high medium coverage with this foundation, which is usually enough to cover darker undereyes or small blemishes. This foundation gives my skin the most beautiful dewy, hydrated appearance. I get the most compliments or questions about my skin when wearing this!
- I also apply this with my hands and then smooth it out and press it into my skin, using a beauty sponge.
Busy Bee Tip: I find skin tints and lighter coverage foundations to be easier to wear on an everyday basis. Even if they fade a bit throughout the day, it’s less noticeable than it would be with a fuller coverage foundation. Light to medium coverage makeup is also much better for mature skin, as it’s less likely to crease or settle into fine lines.

Concealer
On a daily basis, I prefer just an undereye corrector, rather than an actual concealer. Since I wear lighter coverage foundations, I don’t want much undereye coverage. If you’re wearing a higher coverage concealer with a lower coverage foundation, it can be harder to blend and look a little iffy.
- Bobby Brown Undereye Corrector: This is a tiny little pot, that you dip your finger into, and apply to your undereyes. The coverage is just enough to counteract darkness under the eyes and make you look more awake. It’s very lightweight and doesn’t settle into fine lines too bad.
- Busy Bee Tip: If I’m looking really tired and need more coverage than what this gives, I will set my undereyes with a powder foundation. I’ll talk about this a bit more in the powder section of this post!
- Bonus Option: If the Bobby Brown Corrector is out of your budget, ELF makes a great alternative for around $6.
Eyeliner
- Sephora 12 Hour Liner: This is a pencil liner and I use the shade Tirramissu, which is a brown, so it’s a bit softer looking on the eyes. This pencil is very long-wearing and smudge proof. I can even wear it to get all sweaty at the gym, and it’s still in place afterwards!
- Busy Bee Tip: If you struggle with your eyeliner smudging, try powdering your eyelids before applying eyeliner. This gives the liner a drier base to adhere to.
- Busy Bee Tip: If you have to pull your eyelid out to draw a clean line, use a powder puff to hold onto your skin. This is what I do, to avoid messing up the foundation underneath.
- Busy Bee Tip: I prefer to apply eyeliner before blush or bronzer because I pull my skin taut to draw my eyeliner and I don’t want to smudge the bronzer/blush.
- Busy Bee Tip: This is a great product to buy during Sephora sales, because the Sephora Collection brand is always 30% off!
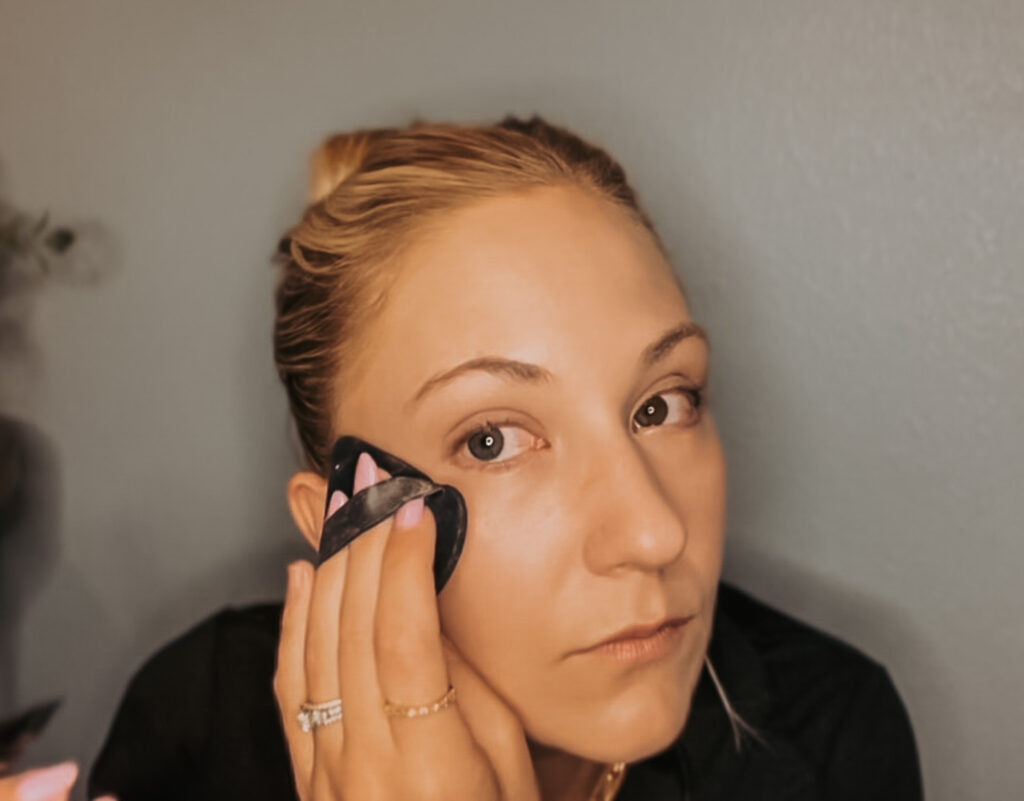

Bronzer
I prefer cream or liquid products for bronzer & blush. I feel they give your skin a more natural look and sit better on top of foundation.
- Tower 28 Sculptino Cream Bronzer: This is a very blendable, easy to work with, bronzer. It stays on my skin well throughout the day, without needing to set it. I use the shade “Broad.”
- Makeup Revolution Cream Bronzer: This is another great option at a SUPER affordable price point ($4 at Ulta)! I used this for probably a year or two & just switched simply because I wanted to try something new, but this bronzer is wonderful. It’s also very creamy and blendable, and the tone is more neautral. I use the shade “Light.”
- I use the Elf Putty Brush to apply cream bronzer.
Blush
Like I mentioned in the bronzer section, I prefer cream or liquid products for blush & bronzer. They tend to sit better, look more natural, and are easy to apply. I have two blushes that I go back & forth between, mostly depending on my mood!
- NARS Liquid Blush (shade: “Orgasm”): I love love love this blush! Since it’s a liquid blush, it stays on so well throughout the day. Once it’s on your skin & blended out, it dries down and doesn’t move. This blush also has a bit of highlighter in the formula so it makes your cheeks look beautifully glowy and illuminated. Think of this as a highlight and blush in one! This blush is more on the pricy end, but you need literally the tiniest drop, so this bottle will last forever!
- Milani Cheek Kiss Cream Blush (shade: “Nude Kiss”): If the price on the NARS blush is off-putting, or you’re not keen on a liquid blush, this cream blush is beautiful. It’s super easy to apply with either a brush or a sponge, and it lasts great throughout the day.
- Busy Bee Tip: While this cream blush lasts well, if you’re needing more setting power, apply some powder blush on top to set it in place. If I’m going to be in the heat a lot or have a really long day (like a wedding, etc), this is something I usually do.
- I use the Real Techniques 449 brush to apply liquid and cream blushes.
Powder
- Elf Halo Glow Loose Powder: This powder is amazing for dry skin, because it sets your makeup in place without looking cakey or powdery. It has a bit of a shimmer or light reflecting property to it, so it adds a touch of glowiness to your makeup, rather than making you look matte. This is a translucent powder, so if you need a bit of coverage from your powder, try the Camo Powder Foundation instead.
- Elf Camo Powder Foundation: This is a very blurring and softening powder. This is typically what I use when my undereyes are looking a little darker and need more coverage, or I have some blemishes to cover up. It sets my makeup well, covers imperfections, and blurs the pores really nicely!
- I use a triangular powder puff to apply both of these!
Setting Spray
- One Size On ‘Til Dawn Mattifying Setting Spray: This is my ride or die setting spray. I tell everyone about this! It’s basically hairspray for your face and locks your makeup down better than any setting spray I’ve tried (including everyone’s fav, UD All Nighter). While it says it’s mattifying, even with my drier skin, I don’t have any issues with it drying me out or making me look too matte.
Mascara
- Thrive Cosmetics Liquid Lash Extension Mascara: This mascara is the bomb dot com! It’s a tubing mascara, which means it adds teeny, tiny, tubes around each individual lash, to help your lashes stay lengthened and curled all day. It also stays on extremely well, so no flaking or smudging throughout the day, but it removes very easily with warm water. You don’t need to scrub your lashes, like you would with a waterproof mascara!
- Busy Bee Tip: While I swear by this mascara and its lasting power, it is NOT waterproof. I learned this the hard way, when I was crying at a wedding and it let me down. Other than that, I have zero complaints about this mascara. But if you’re going to be crying, look for a waterproof mascara instead.

Lip Gloss
I don’t wear lipgloss everyday, but sometimes it’s nice to add a bit to spruce my makeup up a tad. I especially love to keep a gloss in my purse for days out on the weekends or while I’m traveling. Here’s a list of some of my fav glosses:
- NYX Fat Lip Oil: I love the applicator on this gloss, it’s nice and fluffy, and applies well to the lips. This is a great gloss and makes your lips look nice and smooth!
- Tarte Maracuja Lip Plump: This has a bit more coverage than most glosses, which I like. It’s also pretty plumping, so it evens out the lines in your lips, and gives you that minty, tingly feeling.
- Inn Beauty Project Lip Oil: I specifically love the shade “Candy Apple,” because it reminds of LipSmackers when I was a kid. This gloss smells amazing and is very smoothing and hydrating on the lips.
